When life gives you lemons, make marmalade

We’ve been quiet on the blog front for a while, but a lot has been happening on the personal front. The biggest change for me has been with work: as of September, I am no longer spending half my life in Asia — and my carbon footprint has shot down to human proportions.

Meanwhile, thanks in part to our ratty neighbours and compost challenges, Bonnie Lee has gone on a quest to create a local composting solution for multifamily dwellings, which has led to two things: she is working with LA Compost to bring a solution to Palms, and has become a member of the Palms Neighborhood Council Green Committee.

We’re also both members of the Technology Innovation Council which the USDA asked the folks at Food Cowboy to set up.

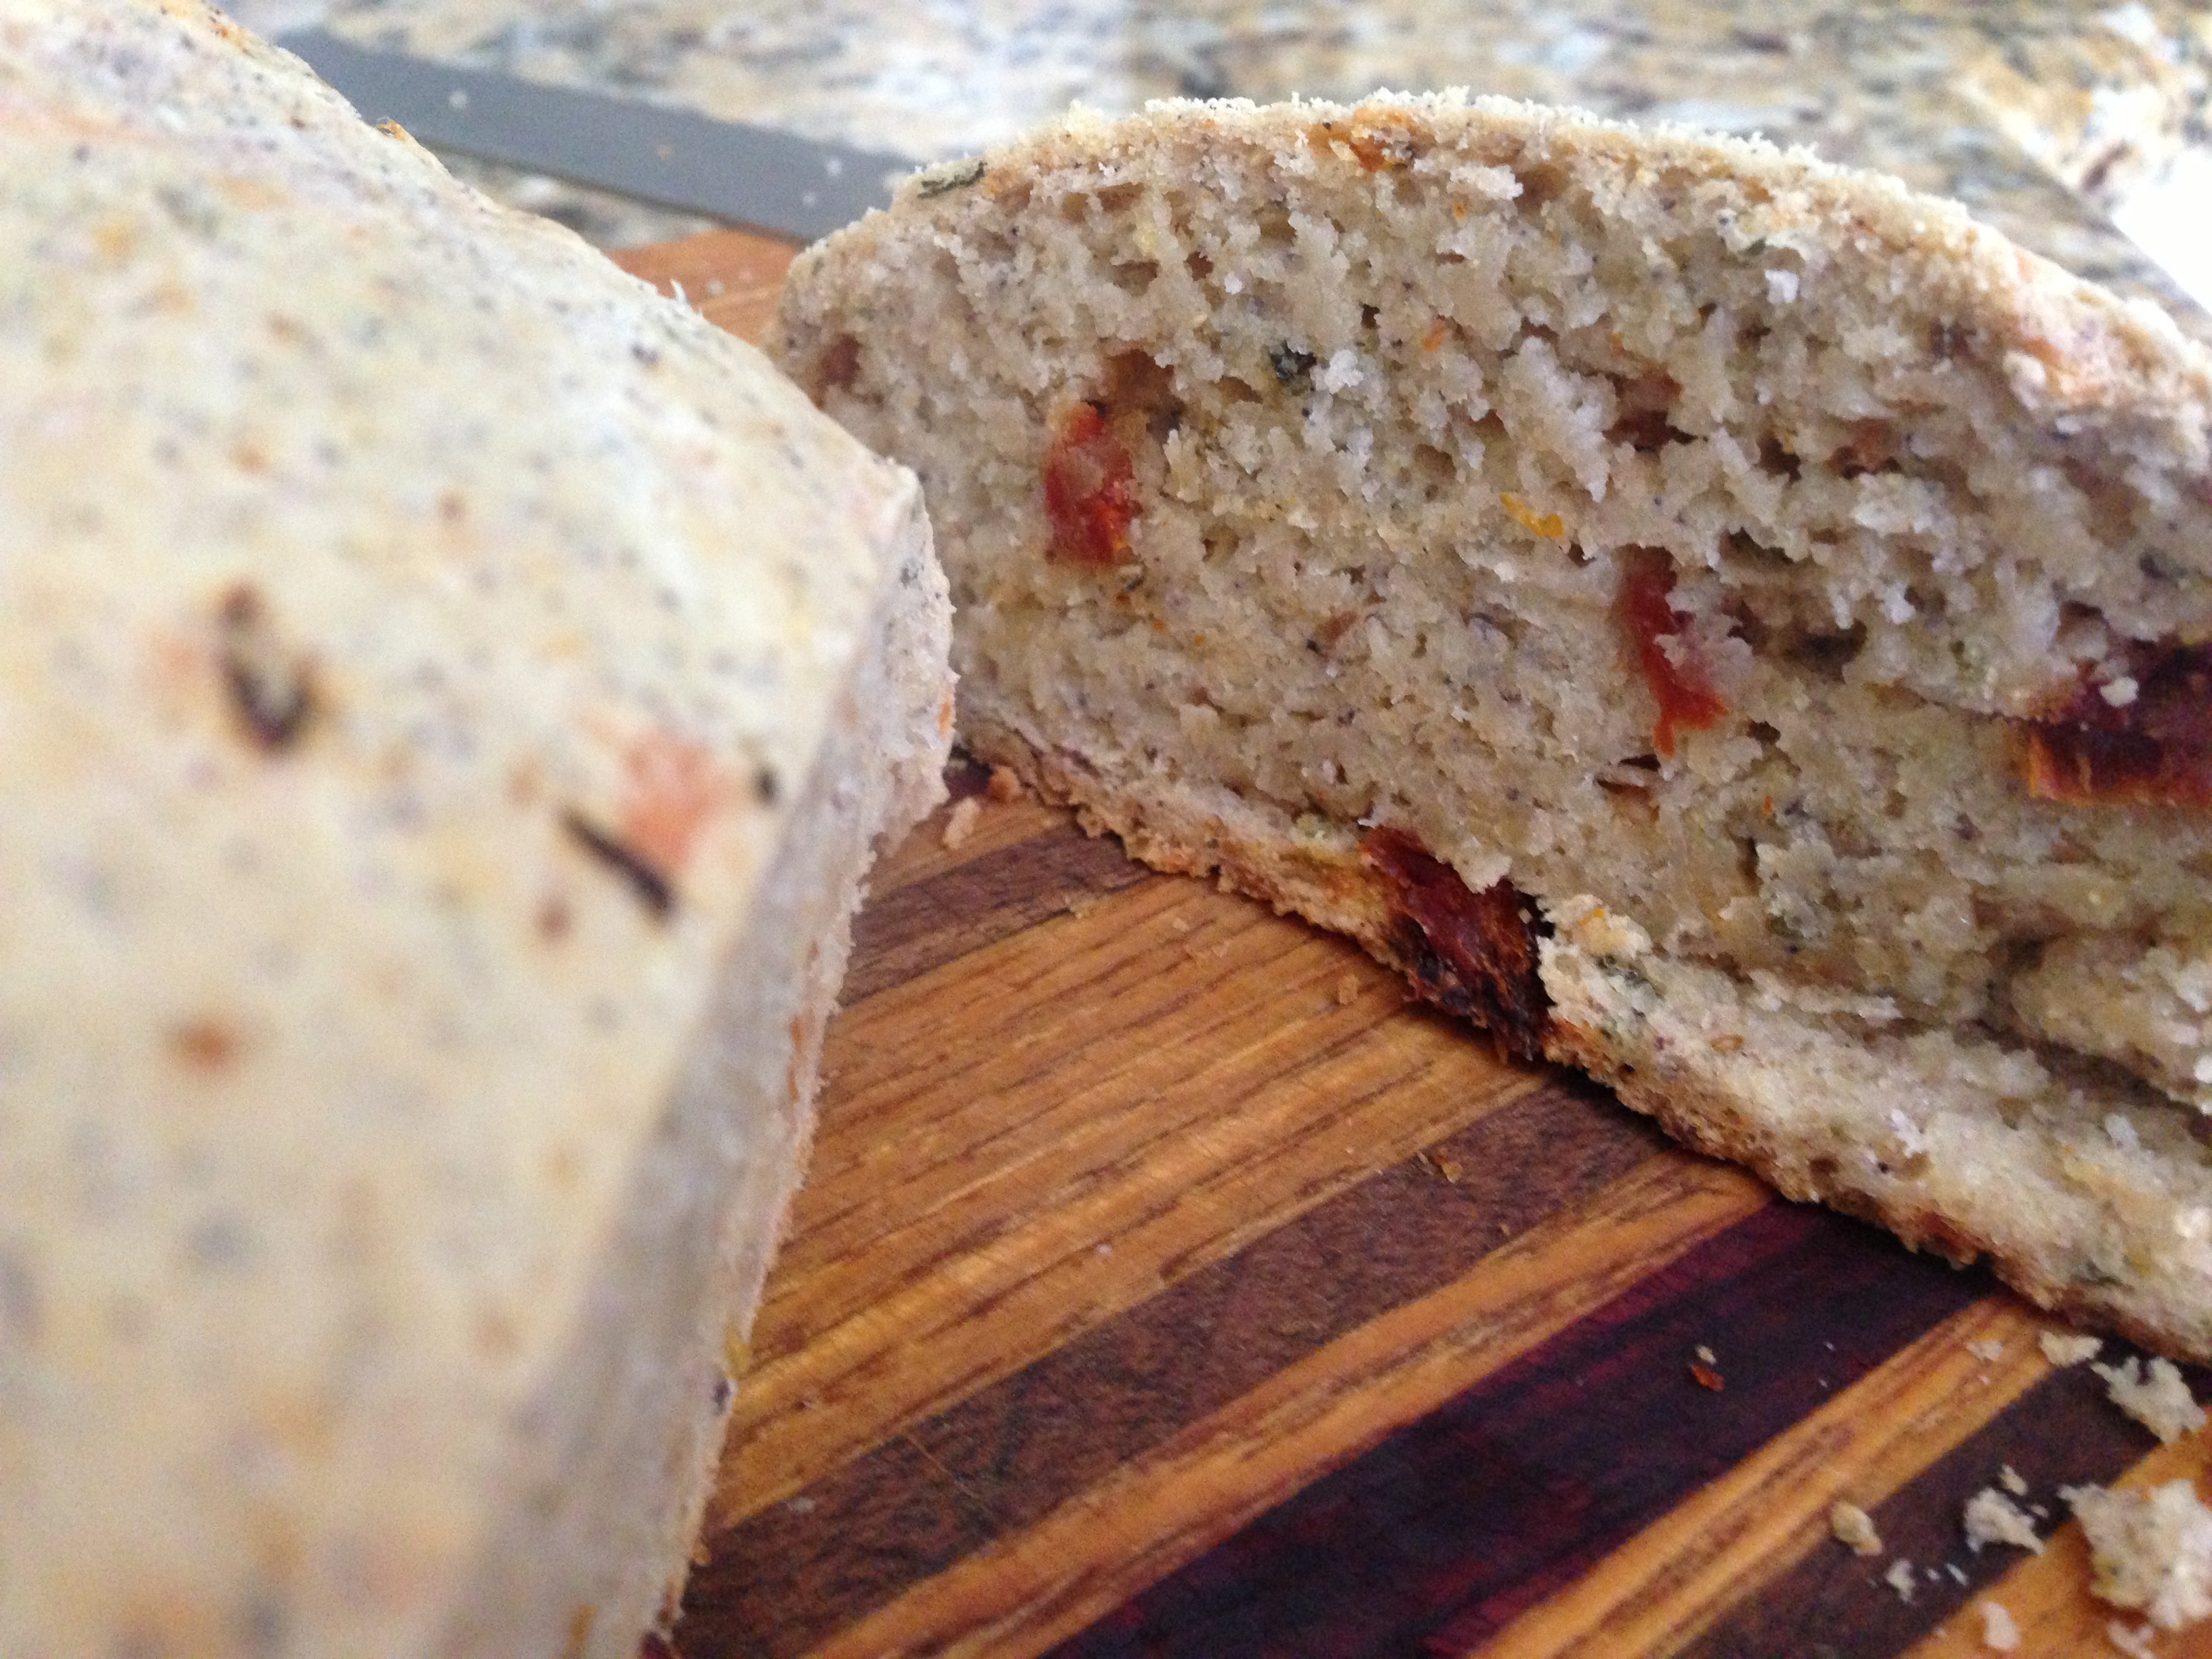
With all that going on, maybe we can be excused for having allowed two lemons to start looking a little dry — two lemons for which we had no immediate plans. We also had a big, sweet navel orange sitting around, so decided to try our hand at marmalade.

Home made marmalade

‘Twas lovely with breakfast

Orange and lemon marmalade (about 3 cups)

Ingredients

  • 3 small lemons (two of which were looking a bit, but not overly, dry)
  • 1 large Valencia orange
  • 3 cups water
  • 2.5 cups sugar

Directions (in pictures)

Future marmalade

1. Cut each piece of fruit into 8 wedges. Remove the seeds and drop wedges in a pot. (Tip: hold each wedge up to the light to make sure you got all the seeds.)

What the bells of Saint Clemens said

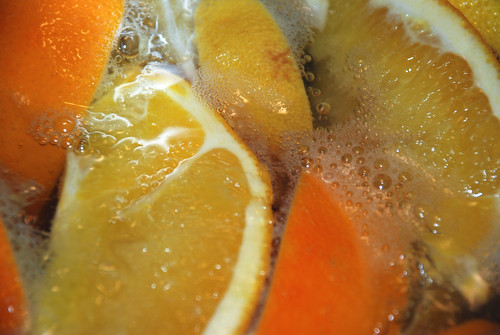
2. Cover with water, and boil for five minutes.
3. Turn off heat, and let sit covered overnight (for at least 12 hours)

Boiling away

4. Remove wedges from liquid (and leave the liquid in the pot — you will need it).
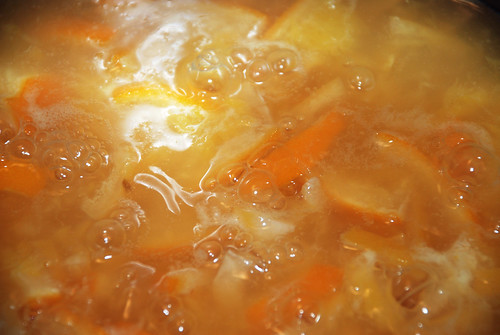
5. Cut each wedge crosswise into thin slices, and return to the pot.
6. Boil for one hour.

Testing

7. Add sugar to boiled fruit mixture. Basically, you should be adding the same volume of sugar as you have fruit mixture, but we used a little less. We had 3 cups of mixture at this point, and used 2.5 cups sugar.
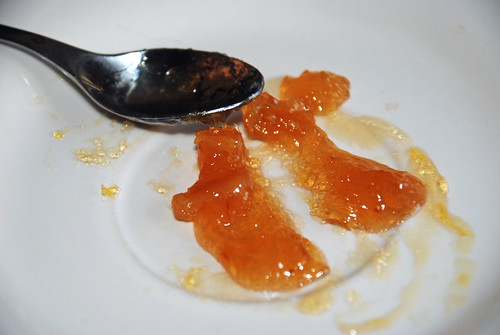
8. Continue to boil, occasionally spooning some of the mixture onto a plate, letting it cool to room temperature, and running a spoon through it. When you get something with the consistency shown in the picture above, you’re done.

Eggless, Yeastless Yummy “Stone Soup” Bread

Vegan bread with sun-dried tomatoes, onions, and sage.

Vegan bread with sun-dried tomatoes, onions, and sage.

In our new apartment, I want to have a “Zero Waste Kitchen”, but that means I have to use up as much as possible in the current apartment before we move. The idea is to start with a clean slate. To do that we need to make sure we do not bring bad habits with us. Today, I made bread, and in the process used up the last of our sun dried tomatoes, blue corn flour, extra jar of white four, and baking powder – as well as some almond milk. What I got, had the texture of a nice country loaf.

And it was 100% vegan.

Why Stone Soup Bread? Because, like Jean-Francois’s idea for stone soup, this recipe is so flexible that practically anything can go into it, and it complements salad or soup, and makes a nice sandwich. You could even use stone soup broth in the mixture. Best of all, I doubt I will ever miss traditional breads ever again.

I cannot take credit for the idea. I found the source recipes on the internet when searching for ways to use flour without eggs and yeast. I have Tish’s recipe at Food.com, Veggie Bon Vivant’s adaptation of Mark Bittman’s (How to Cook Everything), and a half day of looking at nearly empty jars and wondering what would work together.

Here’s what I did:

  1. Preheat over to 400F.
  2. In a large bowl, mix 3 cups of a variety of flours (blue corn, unbleached, corn meal, and whole wheat) with 1 tablespoon baking powder and 1 teaspoon salt.
  3. Chop 4 withering green onions and about 1/2 cup sundried tomatoes (in oil) and add them to the flour mixture. NOTE: I chopped the tomatoes on a wooden chopping board and left the oil on the board to use later when shaping the bread dough.
  4. Add 2 teaspoons dried sage to the flour mixture. Any herb would work, be creative.
  5. In a 2 cup measuring cup, combine 1/4 cup olive oil and 1-1/2 cups almond milk.
  6. Add liquids to flour mixture and mix until flour is moist but not very sticky.
  7. Turn dough on to wooden board (the one with the tomato oil). Flip a few times to shape into a ball.
  8. Drop ball onto baking sheet.
  9. Cook for 45 minutes.
Just out of the oven, not the blue colour from the blue corn flour.

Just out of the oven, note the blue colour from the blue corn flour.

And voila, two veggies saved from compost, three jars empty and ready to be packed, and a nice hearty snack to get me through the afternoon. I suspect this bread will toast up nicely and make heavenly croutons, too.

March: It’s Celery’s Month

Does anyone out there know who decides which events, foods, people will be celebrated each month of the year? I ask because March is National Celery Month. (It is also Nutritional Health Awareness month, Women’s History month, and frozen foods month.) Why does celery deserve a whole month of celebration?

Sausage pizza with cornmeal crust

Celery: only good as a supporting role?

Personally I get it. This blog owes its existence to celery (or rather our lack of it) when we lived in Japan and pined for days when we could buy more than one stalk of celery at a time. Silly us. Now in Los Angeles, we always looking for new ways to use a full head of celery before it goes limp.

After all, there has to be more to celery than mirepoix and hors d’oeuvres?

Moving beyond Ants on a Log

Last March, Jean-Francois wrote about a surprisingly refreshing tall glass of celery. What he did not mention Pepsi’s attempt to market cucumber soda in Japan for a week or two. And Dr. Browns sells a celery soda. Maybe drinking celery (and cucumbers) might be fun way to bring out our Irish this week.

Celery is crunchy, naturally salty, and nutritious. It can be grilled, pureed, creamed, steamed, fried, pickled, infused, baked, and braised. Huffington Post has some fun ideas for celery, including a salsa with green olives and mint.

Yesterday, cooking for one, I attempted to make celery and mushroom ravioli. If you are vegan, try substituting wet okara or soy-cheese for the egg and cheese.

Ingredients:

  • 1 tablespoon olive oil
  • 1/4 chopped onion
  • 2 stalks celery, chopped
  • 5 button mushrooms, sliced
  • 1 tablespoon Parmesan cheese
  • Salt to taste
  • 1 egg, beaten
  • 6 wonton wrappers

Recipe:

  1. Heat olive oil in skillet.
  2. Add onions and celery. Cook until translucent.
  3. Add mushrooms and salt. Cook until all water evaporates.
  4. Transfer onions, celery and mushrooms to food processor. Add cheese and egg and blend into a paste.
  5. Put about 1 teaspoon of paste in each wrapper. Use water or egg to seal the wrappers.
  6. Cook ravioli in boiling water for 2 to 3 minutes.

I ate these bundles with a lemon butter sauce. However, I have no photo to share because I ate them in 3 minutes flat. But I will try this again, maybe adding nuts to the filling to help give the meal more weight. And I will take a photo.

In January, The New York Times published five celery recipes that put my creative effort to shame. I can’t wait to try the “Pan-Cooked Celery with Tomatoes and Parsley” and “Celery Risotto with Dandelion Greens or Kale”.

Healthy Family, a blog dedicated to living organically and healthfully, also shares four celery recipes for March, including a breakfast drink, a soup, a salad, and a treat with salmon.

By the way, 22 March is World Water Day. May we all slake our thirst and raise our passions with a stick of celery, an ice cube, and Betty Friedan.

Honourable husks (a.k.a. Okara)

If you’ve studied Japanese, one thing you may have puzzled over is why some things earn the honorific prefix “o-” or “go-”, while other equally (or even more) noble things don’t. Why are beer and telephones (o-biru and o-denwa) worthy of honour, while wine and computers are not? It is a mystery.

Traditional foods often earn honorifics in Japanese, even humble ones like “o-kara” – a byproduct of the tofu making process. “Kara” literally means husk or shell, and okara is the pulp that you filter out of the soybean slurry to get soy milk. Anyone could be forgiven for not seeing what’s so honourable about it; it’s bland, and not known to make anyone’s mouth water (though one of our cats seems to like the smell).

That being said, okara does have some redeeming properties. It’s high in fiber, as you’d expect, and contains protein, calcium, iron, and riboflavin. It’s flexible. And, although it goes bad very quickly, it freezes nicely, so you can store it until you need it.

The Japanese have long understood that okara is a valuable food, not to be thrown away. There, it’s often served as a side dish, unohana, made with okara, vegetables, sugar, soy and sake. Unohana is served cold – and I ate it for years thinking it was made with tofu. It’s only when I moved to the United States and started making tofu that I realized what okara was, and had to start figuring out ways to use it (as every litre of soy milk generates about a cup of okara, and we weren’t about to throw it out).

So, for those of you who might be struggling to use up all the okara you generate, and who regularly throw some away, here are a few of the experiments we’ve tried, with varying levels of success:

Okara falafel: We found this recipe online last week and tried it out with a few changes. We added a bit more flour to give the mixture the consistency of drop biscuit batter, threw in some cayenne pepper, and used cilantro rather than parsley. The result was so good that we served it to guests recently (with some tahini, lemon and garlic sauce). Everyone enjoyed it, and was surprised to find out what they were eating. The “falafel” was dense, flavourful, and moist with a crispy crust. Simply amazing.

Okara falafel cooking

Okara falafel

Baking: Many people use okara in baking, and it gives breads body and moisture. Bonnie Lee used okara in the pumpkin bread I blogged about a few weeks ago. This was another huge success.

Pumpkin bread

Stealth okara: This isn’t one dish, but rather a class of dishes. Okara has the texture of porridge, and, being bland, can be mixed into a number of foods without significantly changing their flavour or texture. This includes things like mashed potatoes, actual porridge and polenta. Okara is almost undetectable in mashed potatoes and porridge (when it makes up about 25% of the volume). Okara made the polenta I tried creamier (I used ¼ cup corn meal, 2 cups water, and ¾ cups okara) – though I found that it set less well, and wasn’t suitable for slicing and frying the next day. These stealth applications are a great way to use up okara.

Vegan shepherd's pie

Okara polenta

Vegan pancakes: I haven’t experimented with this much, but did make one batch of my usual recipe substituting buttermilk with soy milk, and the eggs with okara. These ended up being heavy, but tasty enough. I use a mix of baking powder and baking soda, so a little dash of vinegar will help lighten them up next time.

Okara pancakes

Soups & eggs: We’ve added okara to a few soups and to omlettes. It can add a little grittiness to those if you overdo to okara, but we’ve had a few moderate successes there. More experimenting needed here.

Okara & eggs

Things we have yet to try: If you make tofu at home, I strongly suggest that you get The Book of Tofu, which has many ideas to springboard off of, including: okara soufflés, croquettes, chapaties, granola and a variety of baked goods.

Refreshing, but fatal

This blog entry is a eulogy – and like all good eulogies, it starts with a poem.

     Gone after twenty years,
     With one soft and fatal gasp.
     My kitchen partner, who knew no fears…
     Gone! After twenty years.
     A void, and yet there are no tears,
     And to my neck I raise no asp.
     Gone. After twenty years.
     With one soft and fatal gasp.
.

What words can I use to describe my long time kitchen companion? Reliable? Tireless? Efficient? All of those, and more. Yet, now that I think of it, undeniably more sluggish lately; struggling to do what had once been so easy … so effortless.

Now those struggles are over, and my kitchen helper is still and lifeless. And, here, my confession: it was all my fault. I alone am to blame. Dessert was my idea, and it was the dessert that was fatal.

Mea cupla.

The recently departed, dear, little three cup Cuisinart was a wedding gift, and over the years it made falafel with us, velvety soups, dips, salsas … too many things to list. It wasn’t the biggest Cuisinart in the world, or the fanciest, but it was always there.

Reliable. Tireless. Efficient.

Easy to clean.

It was killed by two frozen bananas, which have become staples around here. An early commenter on 222 million tons shared this tip, “Sometimes I wait too long for my bananas to get that perfect balance of yellow and brown, so I freeze peeled bananas and then use it later for milkshakes! No need to add ice-cream or sugar to make it slushy or sweet.” It was wisdom we incorporated into our lives, to the detriment of our trusty little appliance. Mami, if you read this blog still, know that you have blood on your hands too. Cuisinart blood.

The silver lining on all this is that our marriage has outlived yet another wedding gift; another milestone has been crossed. We now know that our love is stronger than a three cup Cuisinart, romantic words that may well end up on the family tombstone – a lyrical epitaph indeed.

Garbage ulesAnd now to practicalities. We will need to dispose of the body; of the sad, tiny Cuisinart corpse. In Japan, that would have been easy. There was a shop that bought old appliances that could be salvaged for parts, and if they didn’t take it, the prominent poster over our garbage bin had information to steer us right. Here we’ll have to do a little research. And of course, although it’s a little soon to talk of such things, we will need a replacement – and if any of you have tips in that department, please share them in the comments. It may sound disrespectful, but we were ready for an upgrade anyway.

As a final act of remembrance, I feel I should share the recipe that killed the Cusinart. Usually, people refer to this treat as “one ingredient ice cream”, but in our home it has another name this week.

One appliance ice cream (serves 2)

One ingredient ice cream

Ingredients

  • Two frozen bananas
  • One Cuisinart

Directions

  • Remove bananas from freezer.
  • Slice finely with a heavy knife.
  • Place slices in Cuisinart and let sit for a few minutes, to give them time to soften (especially important if your Cuisinart is on it’s last legs).
  • Pulse on high until the bananas have the consistency of soft serve ice cream, or until smoke comes out of your Cuisinart.

This simple dessert is rich, refreshing, loaded with potassium, made with no animal products, and potentially fatal.

The last picture of it before it died.

The last picture of my kitchen helper before it passed on. RIP, little friend.

Cherry vinegar & Thai pickled cherries

As I entered supermarket last Saturday, I was greeted by a stack of dark red cherries just begging to come home with me. I had just seen pickled cherries (something I’ve never tried before) used on the five and spice blog (which rocks), and was really intrigued by the idea. Growing up, we sometimes had cherries preserved in brandy or jam – something I was never tempted to make myself (we don’t eat a lot of sweets) – but cherries in vinegar, with maybe a little bit of hot spice? That sounded like the perfect way to enjoy the fruit throughout the year, perhaps with some cheeses or curry.

Bonnie Lee (she’s the brains of the operation) suggested that we add a little Thai twist to the pickle. Brilliant. So, that’s the way we decided to go. The results are in the picture below.

We ended up with about ½ cup of extra cherry vinegar, which is bright red, has a nice cherry finish, is slightly sweet, and will be great in dressings and marinades. We haven’t tasted the pickles yet, as we’re waiting for all those great flavours to blend. I’m traveling for work again – but they should be ready to crack open when I get back to the US in mid-August. I’ll let you know how they came out then.

Cherry vinegar & Thai pickled cherries

Ingredients

  • 2 quarts fresh cherries
  • 1 lime
  • 2 sticks dried lemon grass
  • 4 pieces dried Thai ginger (galangal)
  • 10 dried bird’s eye chilis
  • 2 cups distilled vinegar
  • ½ cup sugar
  • ¼ cup rice vinegar

You will also need a mason jar that holds 4 cups.

Directions

  • Wash and pit the cherries, discarding any that are not firm.
  • Demonstrate that you’re smarter than me by not wiping your cherry-juice-covered hands on your shirt.
  • Sterilize the mason jar.
  • Zest the lime, and place the zest in the mason jar.
  • Toss the lemon grass, ginger, and bird’s eye chilis in the mason jar.
  • Pour the distilled and rice vinegars in a deep skillet, and squeeze in the juice of your lime. Add in the sugar, and stir over medium heat until the sugar dissolves.
  • When the vinegar solution is warm, add in the cherries and poach them in vinegar for about 3 or 4 minutes.
  • Remove the cherries from the vinegar with a slotted spoon, and put them in the mason jar.
  • Strain the bright red vinegar through a wire mesh.
  • Pour enough strained vinegar into the mason jar to cover the cherries.
  • Put the remaining vinegar in a clean bottle.

222 million tons: the App

The idea behind 222 million tons has always been to spark conversation and change – and to do that by sharing tips, tools, and resources that help people waste less food and eat well. So far, that’s only been through this blog, but as of last week, we have an iPad App in iTunes.

The App is a publishing platform for weekly menus and shopping lists. The recipes all work for a single person (though through the miracle of technology, they can be scaled), and use up all the fresh ingredients on the shopping lists.

The idea was Bonnie Lee’s, and emerged out of her frustration over the amount of food she was wasting when she first moved from Tokyo to Los Angeles. She was overwhelmed by the quantities that food was sold in, and had no idea how a single person could use it all before it spoiled. In Japan, there are home economics magazines that help people save money by providing weekly shopping lists and recipes, but she couldn’t find anything like that in L.A. – and all the recipes she could find served 6 to 12 people. Bonnie Lee doesn’t like leftovers … so she issued me a challenge, which led to this App, built by our friends & partners at bluejava: Glenn & Makiko.

The first collection of recipes is called Bright & Bold, and was written by me (more on that another day), but my hope is that the 222 millions tons App will become a platform on which a large community of home cooks shares recipes – and if anyone reading this is interested in becoming part of that community, let me know via the comments below, or through any of the community platforms listed on my Gravatar profile.

The key to reducing food waste at home is planning – and as I wrote Bright & Bold, I came to appreciate the challenge of planning whole weeks for a single person with both variety and zero waste. So, if you don’t have time to plan meals, but hate waste and like to eat well … well, now there’s an App that can help.

Fuzz is for peaches

One 20 hour flight later, I’m back in LA (for a little while anyway) – and one of the first things we did when I returned was head to the farmers’ market in Torrance. I figured a little sunshine and fresh food would help me forget my jet lag.

I was wrong.

We didn’t do much shopping in the end, though we did pick up some stunning Seascape and Chandler strawberries – two varieties that are bursting with flavor, especially when they’re perfectly ripe (as these were), and bright red all the way to the center.

Seascape & Chandler strawberries

Our Seascape & Chandler strawberries, begging to be devoured

It seems that whenever we get strawberries at the local supermarket, we find one or two in the middle that are covered with fuzz – and the rest of the batch isn’t far behind. That’s why I’ve gotten in the habit of soaking berries in a vinegar and water solution for a couple of minutes before putting them in the fridge (I use about 3 cups of water and 4 tablespoons of water). That kills the beasties that lead to fuzz (and waste), and the berries generally keep for a couple of weeks after that. (It helps that supermarket berries are inevitably underripe.)

None of the berries from the farmers’ market had any fuzz, but I soaked them in a vinegar solution anyway – just to be safe. I needn’t have bothered, as they only escaped being eaten for a couple of days. The few that weren’t eaten immediately, ended up in strawberry rhubarb crisp.

Strawberry rhubarb crisp (serves 2)

Ingredients

  • ½ cup cut strawberries
  • ½ cup cut rhubarb
  • 1 Tbsp +1 tsp brown sugar
  • 1 Tbsp butter
  • 1 Tbsp flour
  • 1 Tbsp rolled oats

Directions

Preheat your oven to 375℉, and grease a baking dish with butter or cooking spray (you can do the planet a favor and make your own cooking spray with oil and a spray bottle). You want the fruit to be about an inch to and inch and a half deep – for this quantity, a round dish with a 5¾ inch diameter did the trick.

Toss the cut strawberries and rhubarb with 1 teaspoon of the brown sugar, then place it in your greased baking dish.

Melt the butter and stir in the flour, rolled oats and remaining sugar – then crumble the mixture on top of the fruit.

Bake at 375℉ for 45 minutes, then enjoy while it’s still hot.