The race to eat the soybeans

One of the great things about dried beans is that they have a long shelf life … and they’re certainly not something we worry about wasting.

Usually.

But, it looks like we’ll be making an international move later this year — and that means trying to use up pantry items that won’t make the move, and that we aren’t likely to be able to donate or give away. Like the soybeans … which we buy 25 pounds at a time.

Soy beans

So many to eat, so little time

So, for the past couple of weeks, we’ve been trying to figure out new ways to use the beans (aside from tofu and soy milk), with varying degrees of success. These are some of the recent attempts.

Soy noodle #FAIL

Usually we make our noodles the old-fashioned way: with eggs and flour. When the dough was a little too dry a few weeks ago, I tried adding a bit of okara, and that worked well. So, I figured I’d try a batch with just flour and okara. The resulting noodles were nasty and gooey when cooked. #FAIL

Soybean casserole

I’ve never cooked with just plain soybeans, and so went hunting for recipes online, and found this recipe for a soybean casserole, which I adapted with the veg we had on hand. This was a definite win, and the roux added a nice depth.

Banana-soy smoothie pancake

Instead of using milk in the batter for this pancake, I used a banana-soy smoothie (1 cup soy milk & 1 banana) which I soured with a tablespoon of vinegar — and instead of egg, I used a heaping tablespoon of okara. Along with that were the usual suspects (1 cup flour, 1 tablespoon sugar, 1 teaspoon baking powder, 1/2 teaspoon baking soda, 1/2 teaspoon salt, 1 tablespoon melted butter). ‘Twas nice and fluffy.

The Great Pumpkin

In October 1992, we bought a pumpkin.

Now, I don’t remember every gourd-like squash I’ve ever purchased, but this one was special. It wasn’t the first pumpkin I’d ever bought, and it wasn’t the biggest. In fact there was nothing remarkable about it at all, except this: it was the first pumpkin that I ever bought as food.

In the past, I had only procured pumpkins with the intention of carving faces into them. When I shopped for them, I looked for ones that were vaguely evil looking … sinister pumpkins, that looked like they would just as soon shoot me as look at me … soulless pumpkins that exuded quiet rage.

That all changed one afternoon in 1992, when we happened upon a pile of pumpkins at our local vegetable shop. In that moment, it struck me that pumpkins were food too … and remarkably inexpensive food at that (important, as we were saving for our honeymoon). And, as I looked at one pumpkin in particular – a tantalizingly plump and inviting one – I realized that it could feed us for a week.

We bought it, and embarked on what was to become a fun, week-long project: finding as many ways to eat our pumpkin as we could think of (this was in the olden days, and Mosaic was still a year in the future, so we had to rely on our own wits and knowledge). I still remember many of the things we ate that week: roasted pumpkin, pumpkin mash, roasted pumpkin seeds, spicy pumpkin stir fry, pumpkin soup (with a hint of maple and a dash of nutmeg), pumpkin pie and pumpkin quick bread. It fed us for a week, as predicted, and only the peel and stem ended up in the bin – something that felt like an accomplishment, somehow.

This year, there was no jack-o-lantern, but we did buy a little pumpkin, which Bonnie Lee turned into one of the most incredibly moist quick breads I’ve ever had, thanks in part to the addition of okara (soy pulp, a byproduct of making soy milk – more on that magic ingredient another day). The recipe is below…

Insanely moist pumpkin bread

The wet stuff & spices

  • 1½ cups pumpkin flesh (roasted then mashed)
  • 1 cup okara
  • 2 eggs
  • ⅔ cups sugar
  • ½ cup soy milk (unflavoured, unsweetened)
  • ½ cup birch syrup
  • ¼ cup honey
  • ¼ cup oil
  • 2 tsp ginger
  • 2 tsp allspice
  • 2 tsp nutmeg
  • 1 tsp vanilla
  • 1 tsp ground cloves

The dry stuff

  • 3 cups flour
  • 2 tsp baking soda
  • 2 tsp salt
  • ½ tsp baking powder

Directions

  • Preheat your oven to 350℉.
  • Grease two loaf pans (we use glass ones).
  • Mix the wet stuff and spices in a big bowl.
  • Mix the dry stuff in another big bowl.
  • Mix the dry stuff into the wet stuff.
  • Fill the loaf pans ⅔ full.
  • Bake for one hour, or until a wooden skewer or toothpick inserted into the bread comes out clean.
  • Let cool for 5 minutes, then remove from pan and cool on rack.

Thai pickled cherry tofu anyone?

When I got back from my last trip, one of the first things I did was try some of the Thai pickled cherries we made in July, and I wasn’t disappointed. The flavours are complex and interesting, and blend perfectly. The first thing that hits the tongue when you have one is the lemon grass, but that’s quickly followed by a strong cherry taste with a hint of hot spice, and the finish is pure lime. There’s something strangely satisfying about them, and they add an interesting accent to plate of (strong) cheese & crudités.

We’ve been making our tofu with nigari, the traditional Japanese coagulant, but wanted to try something a bit different, so decided to make a batch of firm tofu using the brine from the pickled cherries – just to see what would happen.

For the uninitiated, making firm tofu is straightforward; all you have to do is:

  • Slowly add your coagulant to hot soy milk until curds begin to form. If you made the soy milk yourself, remember to strain it through a cheesecloth first in order to remove the pulp, otherwise you will make very gritty tofu.
  • Let the mixture sit for 15 minutes.
  • Scoop the curds into a tofu mold lined with cheesecloth (or just pour everything in there). Tofu molds have holes that allow any liquid to run out, so you’ll want to put the mold in the sink first.
  • Once most of the liquid has drained out of the curds, fold the cheesecloth over so that the tofu is completely wrapped.
  • Put the lid on the mold and give the tofu a good squeeze over the sink.
  • Put the tofu mold in a dish (to catch any water that comes out as you press the tofu).
  • Put a weight on the lid, and let it sit for two hours.
  • If you’re not going to use the tofu right away, submerge it in water and put it in the fridge.
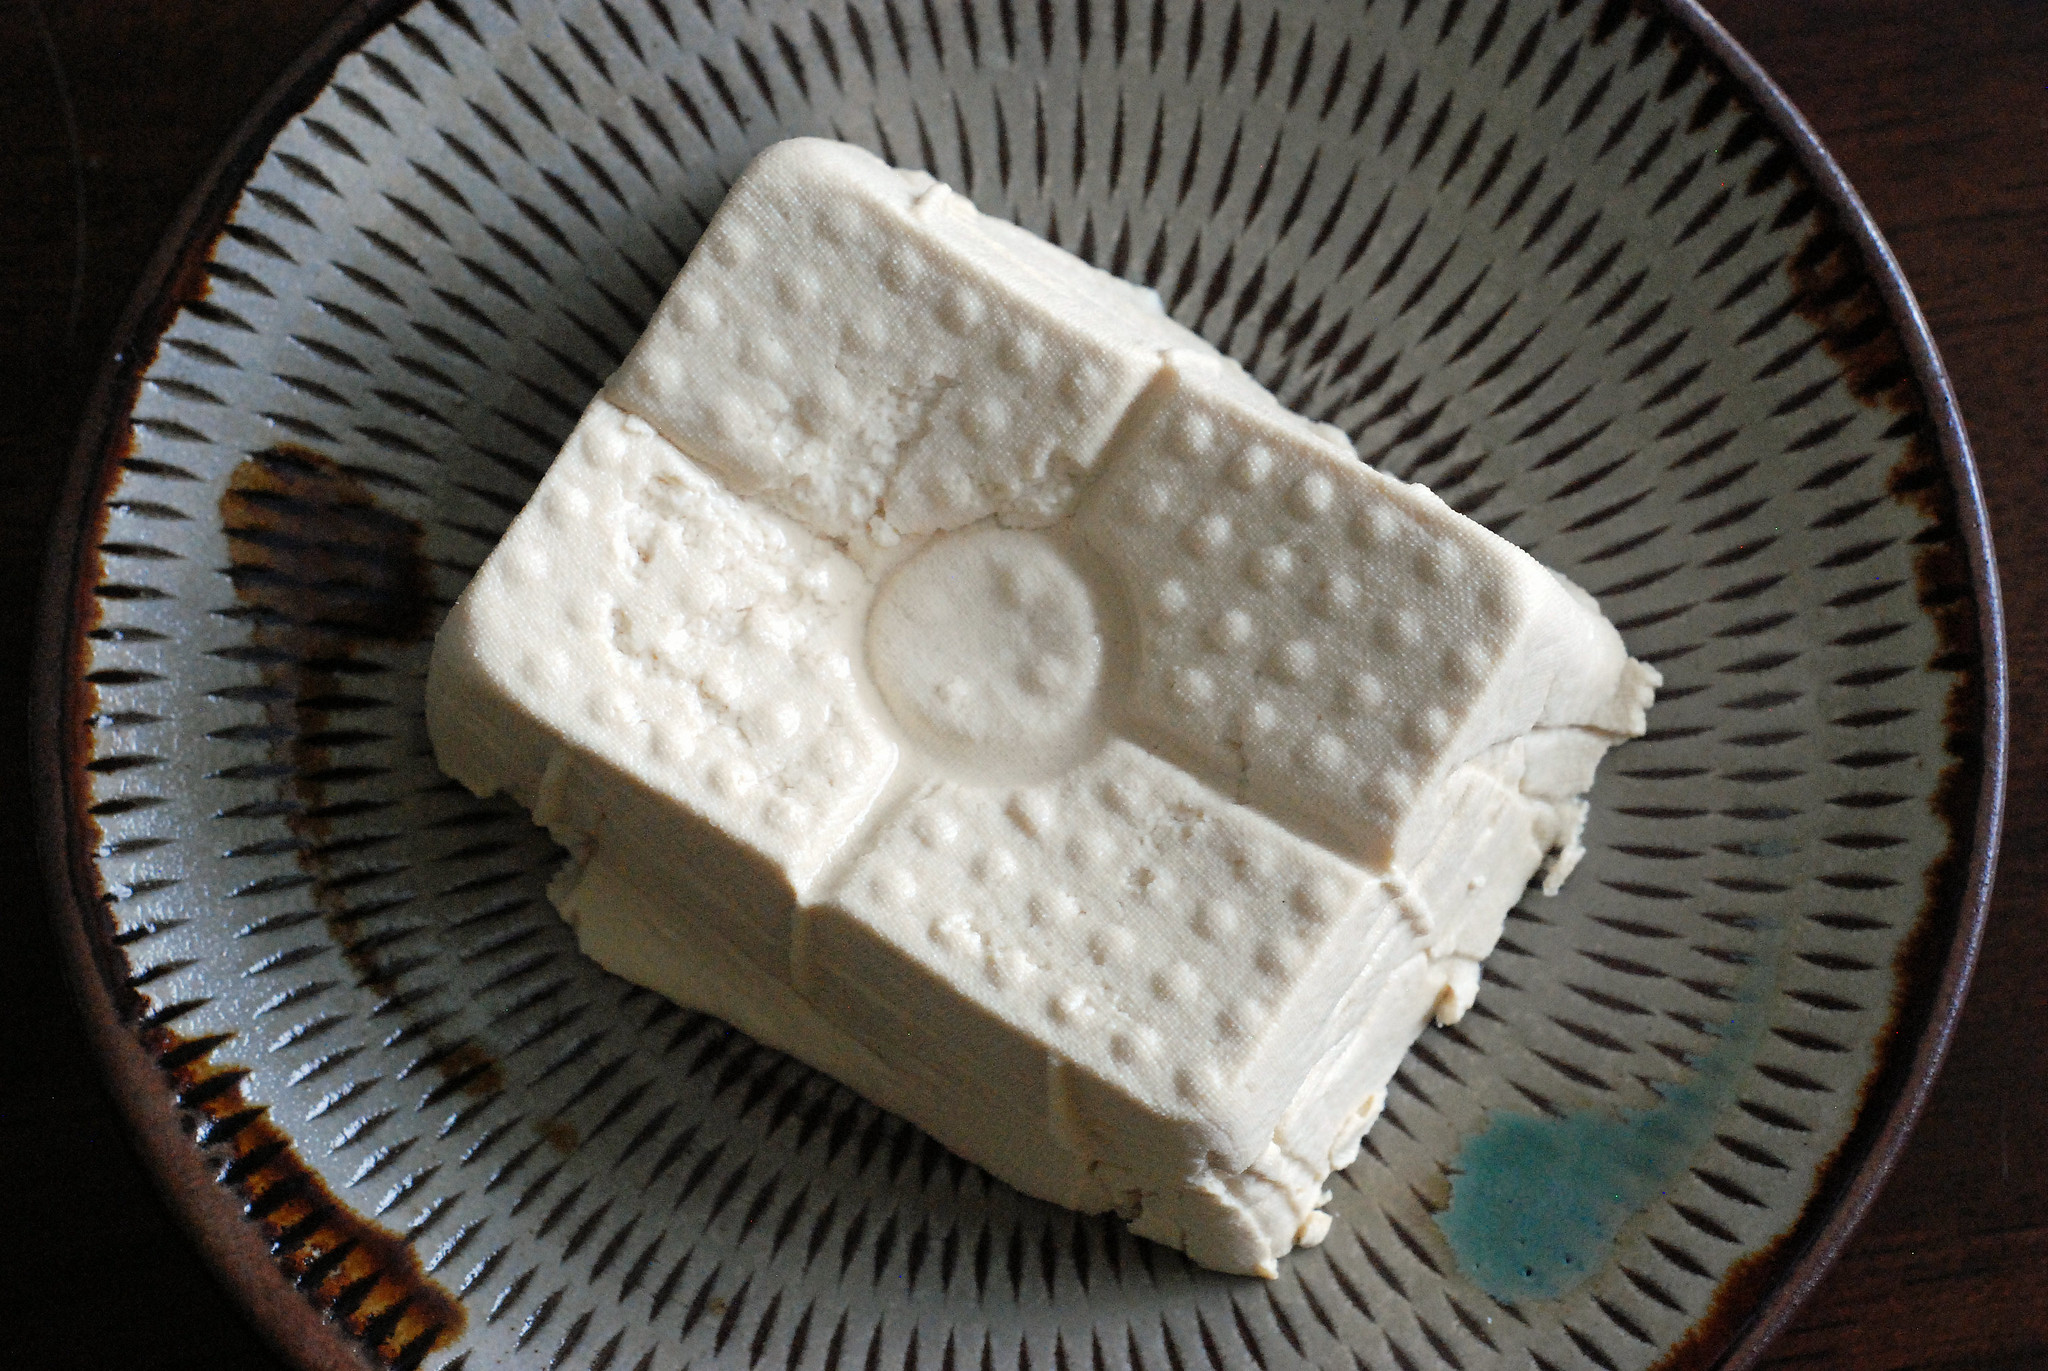
Fresh tofu

Fresh off the presses

We used about a quart of soy milk fresh from the soy milk maker, and it took 5 tablespoons of brine to make it coagulate. That made about 8 oz of firm tofu.

Using vinegar resulted in a somewhat less creamy texture than nigari does, and there was only the slightest a hint of all those great Thai cherry pickle flavours from the brine. Conclusion: there doesn’t seem to be much point in using a complex vinegar, but vinegar does give a good result. Even if you can’t find nigari, you can still make better-than-supermarket tofu at home using vinegar. The planet will benefit from your efforts by having a little less plastic in its landfills, and a little less CO2 in its air – and one thing’s for certain: if you take the time to make your tofu from scratch, you won’t be throwing it away.

Tofu frying

Tofu in wok

We used this particular batch of tofu to make Pad Thai, which we served with a few pickled cherries on the side. We used seitan instead of shrimp, though the meal wasn’t 100% vegetarian thanks to a couple of tablespoons of fish sauce.

Pad Thai with pickled cherries

Pad Thai with spicy pickled cherries

Past and future tofu

I fell in love with the neighbourhood my first night there. I was in the new apartment, which was empty except for the blanket I was sitting on and a small lamp. It was early evening; I had settled down with a good book.

Bonnie Lee was still in our old place in Fukuoka, and I expected to have a quiet evening at home … but then the music started. It was traditional Japanese music, played on wood instruments, and drums, and it was coming from somewhere nearby.

Kosugi shrine

Kosugi shrine

And so I left the apartment, and followed the sound to our local shrine, which was teeming with people and activity. Food stalls lined the edges of the main open area, and in its centre, women clad in summer kimono danced the bon odori around a wooden scaffolding. As I worked my way through the crowd, I felt like I’d been dropped into the middle of a Bond film, minus the two guys chasing me.

Bon odori

Bon odori

It was a good place … and one that we would stay in for 10 years, the longest either of us has lived anywhere. The apartment was next to a park, which itself was next to a river. The city museum was a short walk away, as was the little centre around Shinmaruko station, with its restaurants and shops. It wasn’t long before we discovered the local tofu shop, which made fresh batches of all it’s products every morning, and only stayed open until the day’s stock was sold out. Everything they made was fresh and rich and somehow decadent … and all that soy-based goodness spoiled us for lesser goods.

Like the stuff we get in LA.

So, after more than a year of eating stale, somewhat bean-y tofu and soy milk, we decided to take matters into our own hands, and get ourselves a soy milk maker and some soy beans. I doubt that we’ll ever make anything that comes close to what we got at our little shop in Shinmaruko, but it is bound to be fresher than what we can get locally – and there are other reasons why this makes sense. One critical one is very dear to my heart: it will lead to less waste. We can make what we need when we need it – and the soy products we make will not need to be packaged in plastic or transported.

The day after I got back from my most recent trip, Bonnie Lee showed me how to make soy milk – nothing could be easier. You just need to soak the beans overnight, pop them in the soy milk maker with some water, push a button, wait while the machine heats the water and grinds and seeps the beans, then filter the product through cheese cloth. You can drink the milk as is, or add a coagulant and make tofu with it. And there’s a free bonus in every batch: the pulp that you filter out with the cheese cloth (called okara) is edible and versatile.

The soy milk we’ve been making is much lighter and more refreshing than the store-bought variety (which is thicker and often sweetened). It’s been very nice over our  home-made granola, and makes a great smoothie. As for the tofu and okara – I’ll save talking about what we’ve been doing with those for other posts.

In the meantime, if you’re curious you check out some of my shots of the old neighbourhood on flickr.