
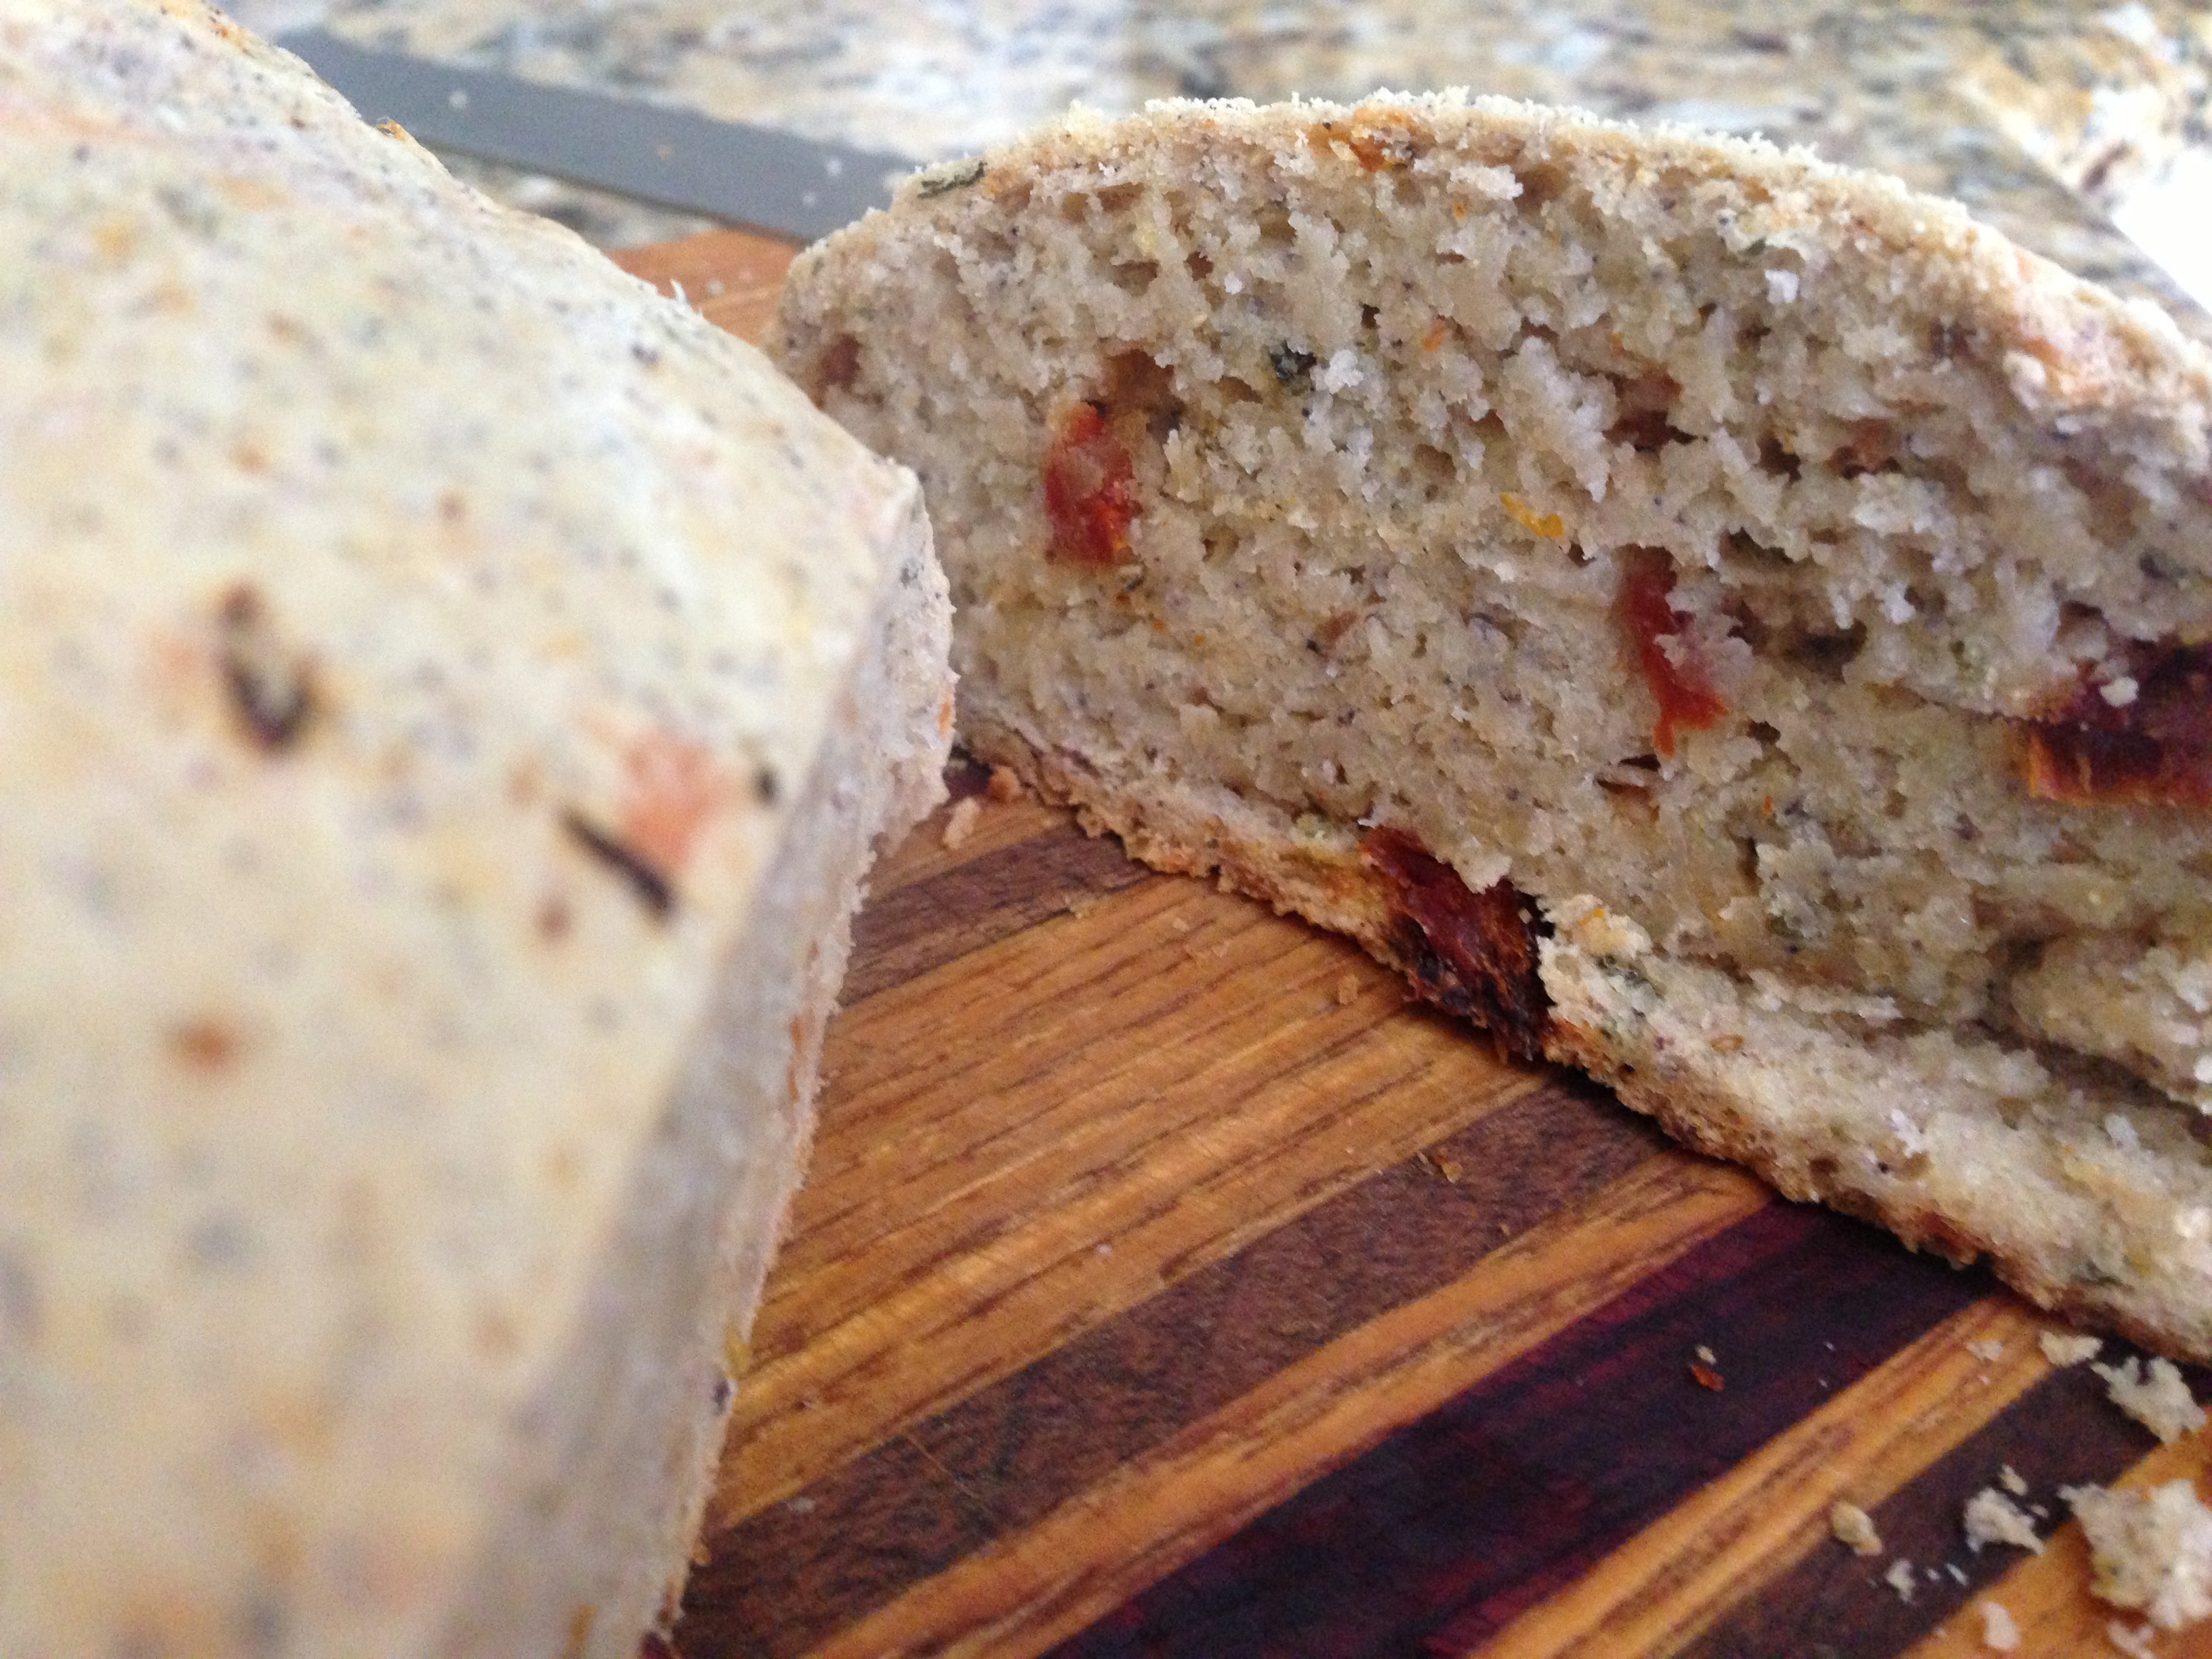
Vegan bread with sun-dried tomatoes, onions, and sage.
In our new apartment, I want to have a “Zero Waste Kitchen”, but that means I have to use up as much as possible in the current apartment before we move. The idea is to start with a clean slate. To do that we need to make sure we do not bring bad habits with us. Today, I made bread, and in the process used up the last of our sun dried tomatoes, blue corn flour, extra jar of white four, and baking powder – as well as some almond milk. What I got, had the texture of a nice country loaf.
And it was 100% vegan.
Why Stone Soup Bread? Because, like Jean-Francois’s idea for stone soup, this recipe is so flexible that practically anything can go into it, and it complements salad or soup, and makes a nice sandwich. You could even use stone soup broth in the mixture. Best of all, I doubt I will ever miss traditional breads ever again.
I cannot take credit for the idea. I found the source recipes on the internet when searching for ways to use flour without eggs and yeast. I have Tish’s recipe at Food.com, Veggie Bon Vivant’s adaptation of Mark Bittman’s (How to Cook Everything), and a half day of looking at nearly empty jars and wondering what would work together.
Here’s what I did:
- Preheat over to 400F.
- In a large bowl, mix 3 cups of a variety of flours (blue corn, unbleached, corn meal, and whole wheat) with 1 tablespoon baking powder and 1 teaspoon salt.
- Chop 4 withering green onions and about 1/2 cup sundried tomatoes (in oil) and add them to the flour mixture. NOTE: I chopped the tomatoes on a wooden chopping board and left the oil on the board to use later when shaping the bread dough.
- Add 2 teaspoons dried sage to the flour mixture. Any herb would work, be creative.
- In a 2 cup measuring cup, combine 1/4 cup olive oil and 1-1/2 cups almond milk.
- Add liquids to flour mixture and mix until flour is moist but not very sticky.
- Turn dough on to wooden board (the one with the tomato oil). Flip a few times to shape into a ball.
- Drop ball onto baking sheet.
- Cook for 45 minutes.

Just out of the oven, note the blue colour from the blue corn flour.
And voila, two veggies saved from compost, three jars empty and ready to be packed, and a nice hearty snack to get me through the afternoon. I suspect this bread will toast up nicely and make heavenly croutons, too.


 What I do is this: whenever I peel or chop vegetables or meats, I toss any bits that would usually be destined for the compost or garbage bin into a colander, wash them, then put them in a container in the freezer. When I want to make stock, I throw the stone-like frozen scraps into water and boil. I made the last batch with corn cobs, chicken wing tips, carrot greens, onion skins, celery and carrots ends, carrot peels and some cauliflower leaves and carrot tops that didn’t make it onto the menu a few weeks ago. It was complex with a hint of sweetness – and, in the spirit of stone soup, it was a broth made in what some would perceive as the absence of food.
